How to Patch a Hole in Drywall
Fix nail holes, dents, and fist-sized damage in drywall with spackle, a mesh patch, or a new piece of board for a smooth, paint-ready wall.
Holes in drywall look worse than they are. Whether it is a nail hole, a doorknob dent, or a gap left by an old electrical box, you can make it disappear with a few inexpensive supplies and some patience. The right method depends mostly on the size of the hole.
What You Will Need
- Lightweight spackle or joint compound
- A 2-inch and a 6-inch putty or taping knife
- Self-adhesive mesh patches for medium holes
- A scrap piece of drywall, a utility knife, and a drywall saw for large holes
- Fine-grit sanding sponge, primer, and matching paint
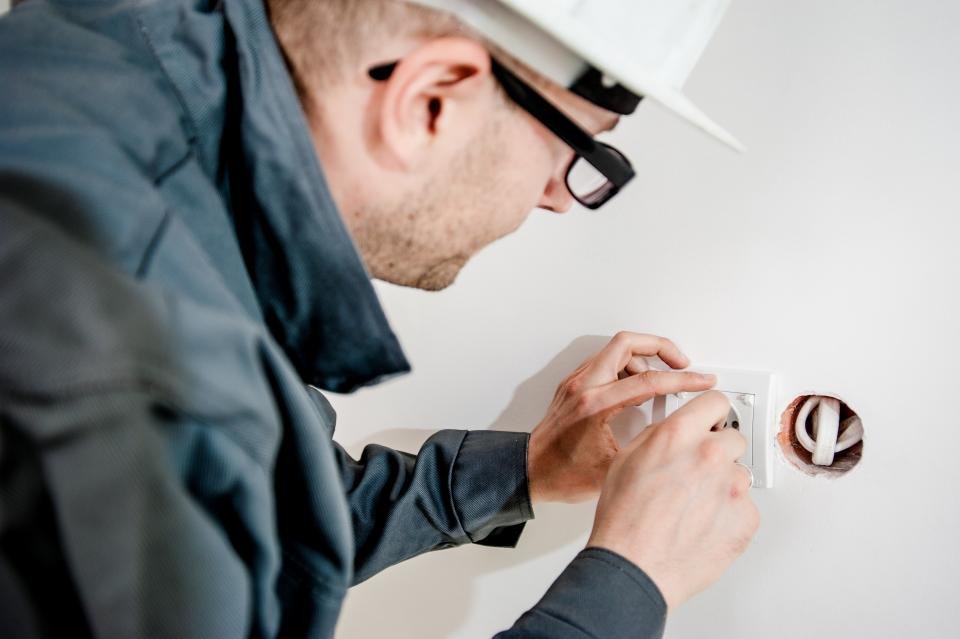
Safety note: before cutting into a wall, check for wiring and pipes behind the area. Turn off power to nearby outlets at the breaker if you are working close to them, and wear a dust mask when sanding.
Small Holes (Under 1/2 Inch)
- Lightly sand or trim any raised paper or plaster around the hole.
- Press a small amount of spackle into the hole with the 2-inch knife.
- Scrape the knife across the surface at a low angle to leave a flat, thin layer.
- Let it dry, then sand gently until smooth. Add a second thin coat if the spackle shrank.
Medium Holes (Up to About 4 Inches)
- Trim loose paper and crumbled gypsum from the edges with a utility knife.
- Center a self-adhesive mesh patch over the hole, pressing it flat.
- Spread a thin coat of joint compound over the patch with the 6-inch knife, extending a couple of inches past the mesh on every side.
- Let it dry completely, sand lightly, and apply a second, wider coat to feather the edges.
- Repeat with a third thin coat if needed until the patch blends into the wall.
Large Holes (Bigger Than 4 Inches)
- Draw a neat square or rectangle around the damage and cut it out with a drywall saw.
- Screw two thin wood strips inside the opening, one on each side, so they bridge the gap and act as backing.
- Cut a piece of drywall the same thickness as your wall to fit the opening, and screw it to the strips. Set screw heads just below the surface without tearing the paper.
- Tape the seams with mesh or paper tape and cover them with joint compound.
- Apply two or three thin coats, letting each dry and sanding lightly between them.
Finishing for an Invisible Repair
Once the final coat is dry and smooth, wipe off the dust with a damp cloth. Prime the patched area, since bare compound absorbs paint differently and can show through as a dull spot. Then paint, ideally rolling the whole wall section or out to a corner so the sheen matches.
Tips for Better Results
- Several thin coats always beat one thick coat, which can crack and take longer to dry.
- Shine a flashlight across the wall at a low angle to spot ridges before you prime.
- Follow the drying times on the product label rather than rushing between coats.
With a little practice, you will be able to fix most wall damage in an afternoon of actual work, spread over a day or two of drying time.