How to Fix a Leaky Faucet
Stop a dripping faucet yourself by identifying the faucet type, shutting off the water, and replacing the worn washer, O-ring, or cartridge.
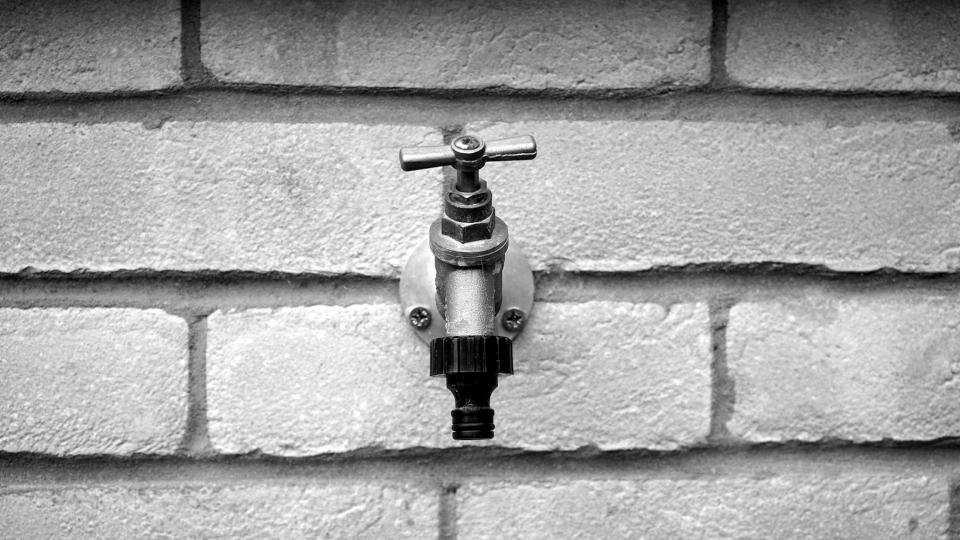
A dripping faucet wastes water and keeps you up at night, but the cause is usually a worn washer, O-ring, or cartridge that costs only a few dollars. With basic tools and about an hour, you can stop the drip yourself.
Figure Out What Kind of Faucet You Have
Most household faucets fall into four types, and the repair depends on which one you have:
- Compression: two separate handles that you tighten down to shut off. These use rubber washers.
- Cartridge: one or two handles that move smoothly, with a removable cartridge inside.
- Ball: a single handle that rotates over a rounded cap, common in kitchens.
- Ceramic disc: a single lever above a wide, cylindrical body.
Look for a brand name on the faucet if you can. Taking the old part to a hardware store is the easiest way to get an exact match.
Gather Tools and Shut Off the Water
- Adjustable wrench
- Phillips and flat-head screwdrivers
- Hex keys
- Replacement washer, O-ring, or cartridge
- Plumber’s grease
- A rag or old towel
Turn off the supply valves under the sink by turning them clockwise, then open the faucet to drain the remaining water and confirm the supply is off. Close or cover the drain so small screws can’t fall in.
Take It Apart and Replace the Worn Part
- Pry off the decorative cap on the handle with a flat screwdriver and remove the screw beneath it.
- Lift off the handle. If it’s stuck, wiggle it gently rather than forcing it.
- Loosen the packing nut or retaining clip with the wrench, then pull out the stem or cartridge. Lay the parts out in order on a towel, or snap a phone photo, so reassembly is easy.
- For a compression faucet, remove the screw holding the rubber washer at the bottom of the stem and fit a new washer of the same size. Replace the O-ring too.
- For cartridge, ball, or disc faucets, replace the cartridge or the seals and springs, which are often sold together as a kit.
- Coat new O-rings with a thin layer of plumber’s grease to help them seat properly and last longer.
Reassemble and Test
Put everything back together in reverse order. Tighten nuts snugly, but don’t crank on them, since too much force can crack parts or damage the new seals. Turn the supply valves back on slowly, then run the faucet for a minute to flush out air and debris. Check for drips at the spout and leaks around the handle.
If it still drips, the valve seat inside a compression faucet may be pitted. A seat wrench can remove it for replacement, or call a plumber if it won’t budge.
Tips for a Smoother Repair
- Wrap the wrench jaws in tape or a cloth to protect the faucet’s finish.
- Soak parts crusted with mineral buildup in white vinegar to loosen deposits.
- If the faucet is old and parts are hard to find, replacing the whole fixture may save time.
- Keep the old parts until the drip is gone, in case you need to compare sizes again.