How to Sharpen a Kitchen Knife
Restore a dull kitchen knife to a keen, safe edge using a whetstone, plus how honing differs from sharpening and how to keep blades sharp longer.
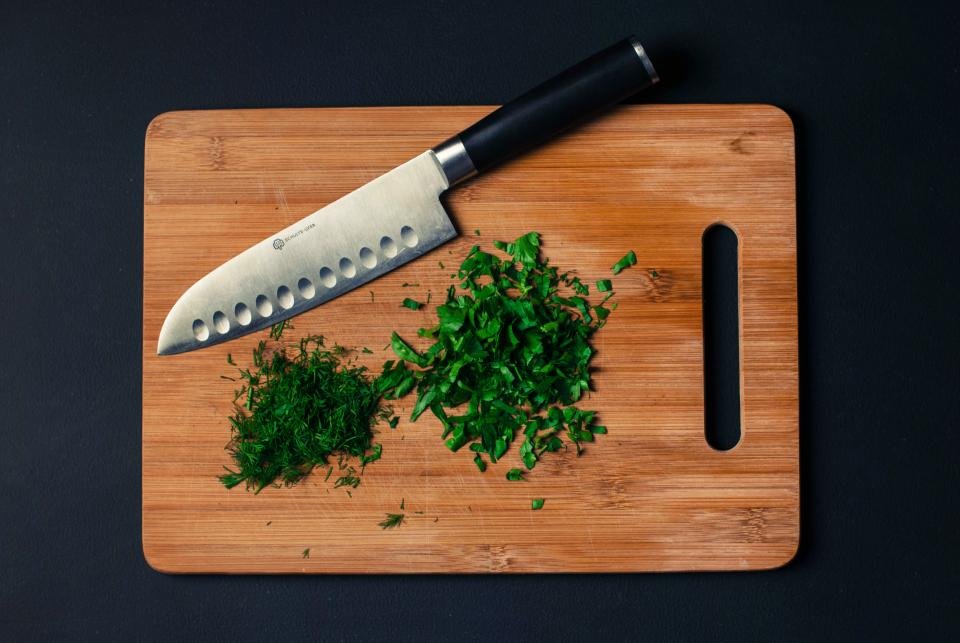
A sharp knife is safer than a dull one because it cuts where you aim it instead of slipping off food. Sharpening at home is easier than it looks once you understand the basic motion and keep a steady angle. This guide walks you through using a whetstone, the most versatile tool for the job.
Honing vs. Sharpening
These two terms are often mixed up, but they do different things:
- Honing uses a steel or ceramic rod to straighten an edge that has rolled or bent with use. It removes little or no metal and can be done often.
- Sharpening grinds away a small amount of metal to create a brand-new edge. You only need to do this when honing no longer brings the knife back.
What You Need
- A whetstone, ideally a combination stone with a coarser side (around 1000 grit) and a finer side (around 3000 to 6000 grit)
- Water or oil, depending on what your stone’s instructions call for
- A damp towel or non-slip base to keep the stone from moving
- A sheet of paper for testing the edge
Step-by-Step Sharpening
- Prepare the stone. If you have a water stone, soak it until it stops releasing bubbles, usually 10 to 15 minutes, unless the maker says it only needs a splash. Set it coarse side up on a towel on a stable counter.
- Find your angle. Most Western kitchen knives are sharpened at roughly 15 to 20 degrees per side, while many Japanese knives use a slightly lower angle. A simple guide: hold the blade at 90 degrees to the stone, halve it to 45, then halve again to about 22, and lower it slightly from there.
- Sharpen the first side. With the edge facing away from you, place your fingertips flat on the blade and push it across the stone, sweeping from heel to tip so the whole edge makes contact. Keep the angle steady and use light, even pressure.
- Check for a burr. After 10 to 15 strokes, carefully feel the opposite side by drawing your finger across the edge from the spine outward, never along it. A slight rough lip, called a burr, means you have sharpened all the way to the edge.
- Repeat on the other side. Flip the knife and repeat until you raise a burr on the first side.
- Refine on the fine side. Turn the stone over and repeat with lighter strokes, alternating sides, to polish the edge and remove the burr.
- Clean up. Rinse and dry the knife, rinse the stone, and let it air-dry before storing.
Test the Edge
Hold a sheet of paper upright and slice down through it. A sharp knife glides through cleanly, while a dull spot snags or tears. If one area catches, go back to the stone and give that section a few more strokes.
Keep Your Knives Sharp Longer
- Hone your knife every few uses to keep the edge aligned.
- Cut on wood or plastic boards, never glass, stone, or ceramic surfaces.
- Hand-wash and dry knives instead of putting them in the dishwasher.
- Store them in a block, on a magnetic strip, or with blade guards.
Go slowly and keep your fingers clear of the edge. With practice, sharpening becomes a quick routine that makes every cooking task easier.